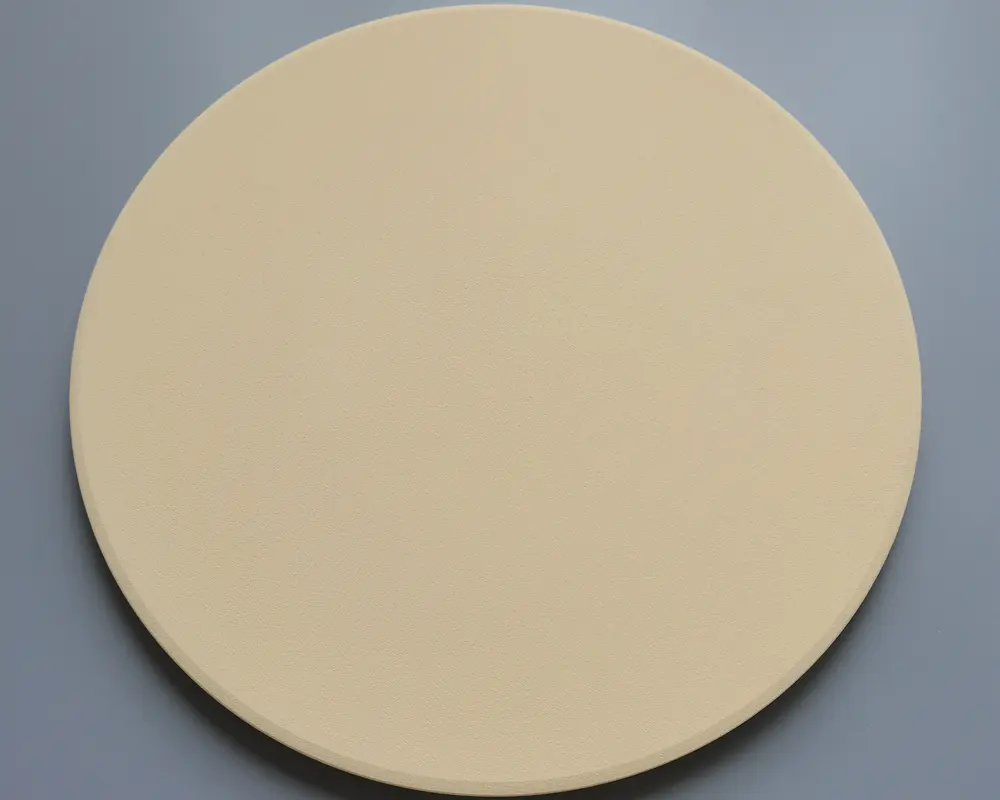
If you’re a pizza lover, you probably know the importance of having a good pizza stone. A pizza stone helps to evenly distribute heat and create a crispy crust. While you can easily purchase a pizza stone from a store, making your own pizza stone at home can be a fun DIY project. In this article, we’ll walk you through the steps of making a pizza stone at home.
Materials needed:
- Unglazed quarry tiles (6-8 tiles depending on size)
- Sandpaper
- Measuring tape
- Tile cutter (optional)
Step 1: Determine the Size of Your Pizza Stone
The first step in making your pizza stone is to determine the size you need. The most common size for a pizza stone is 14 inches, but you can make your pizza stone any size you like. Measure the size of your oven and decide on the size of your pizza stone accordingly.
Step 2: Purchase Unglazed Quarry Tiles
Once you have determined the size of your pizza stone, you will need to purchase unglazed quarry tiles. These tiles can be found at home improvement stores and are relatively inexpensive. Make sure to choose unglazed tiles, as it can absorb the extra water of the dough.
Step 3: Cut the Tiles (If Necessary)
If your tiles are not already the correct size for your pizza stone, you may need to cut them. You can use a tile cutter for this step, or you can leave the tiles whole and place them closely together to create the size you need.
Step 4: Smooth the Edges of the Tiles
Use sandpaper to smooth the edges of the tiles. This will help prevent any sharp edges from damaging your pizza or injuring you while handling the tiles.
Step 5: Preheat Your Oven
Before using your pizza stone, you will need to preheat your oven. Set your oven to 500°F (260°C) and let it preheat for at least 30 minutes. This will allow the tiles to heat evenly and prevent any cracking or damage to the tiles.
Step 6: Arrange the Tiles on the Center Rack of Your Oven
Once your oven is preheated, arrange the tiles closely together on the center rack of your oven. Be careful when handling the tiles, as they can be fragile.
Step 7: Bake Your Pizza
Now that your pizza stone is ready, it’s time to bake your pizza. Place your pizza on the tiles and bake as usual. The pizza stone will help to evenly distribute heat and create a crispy crust.
Tips for Using Your Pizza Stone:
- Always use unglazed quarry tiles for your pizza stone.
- Handle the tiles carefully, as they can be fragile.
- Let your oven preheat for at least 30 minutes before using your pizza stone.
- Clean your pizza stone with a dry cloth or brush. Do not use soap or water, as this can damage the tiles.
- Don’t cut your pizza on the pizza stone, as this can damage the tiles.
Making a pizza stone at home can be a fun and rewarding DIY project. By following the steps outlined in this article, you can create a pizza stone that will help you make delicious, crispy pizzas right in your own kitchen. Remember to use unglazed quarry tiles, handle the tiles carefully, and let your oven preheat before using your pizza stone. With a little practice, you’ll be making perfect pizzas in no time!


